Table of Contents
DATE AND TIME: February 15 2015, 8:30pm
LOCATION: First floor apartment, Princeton, NJ
SUBJECT: Carving wax roundel
Wax carving: process
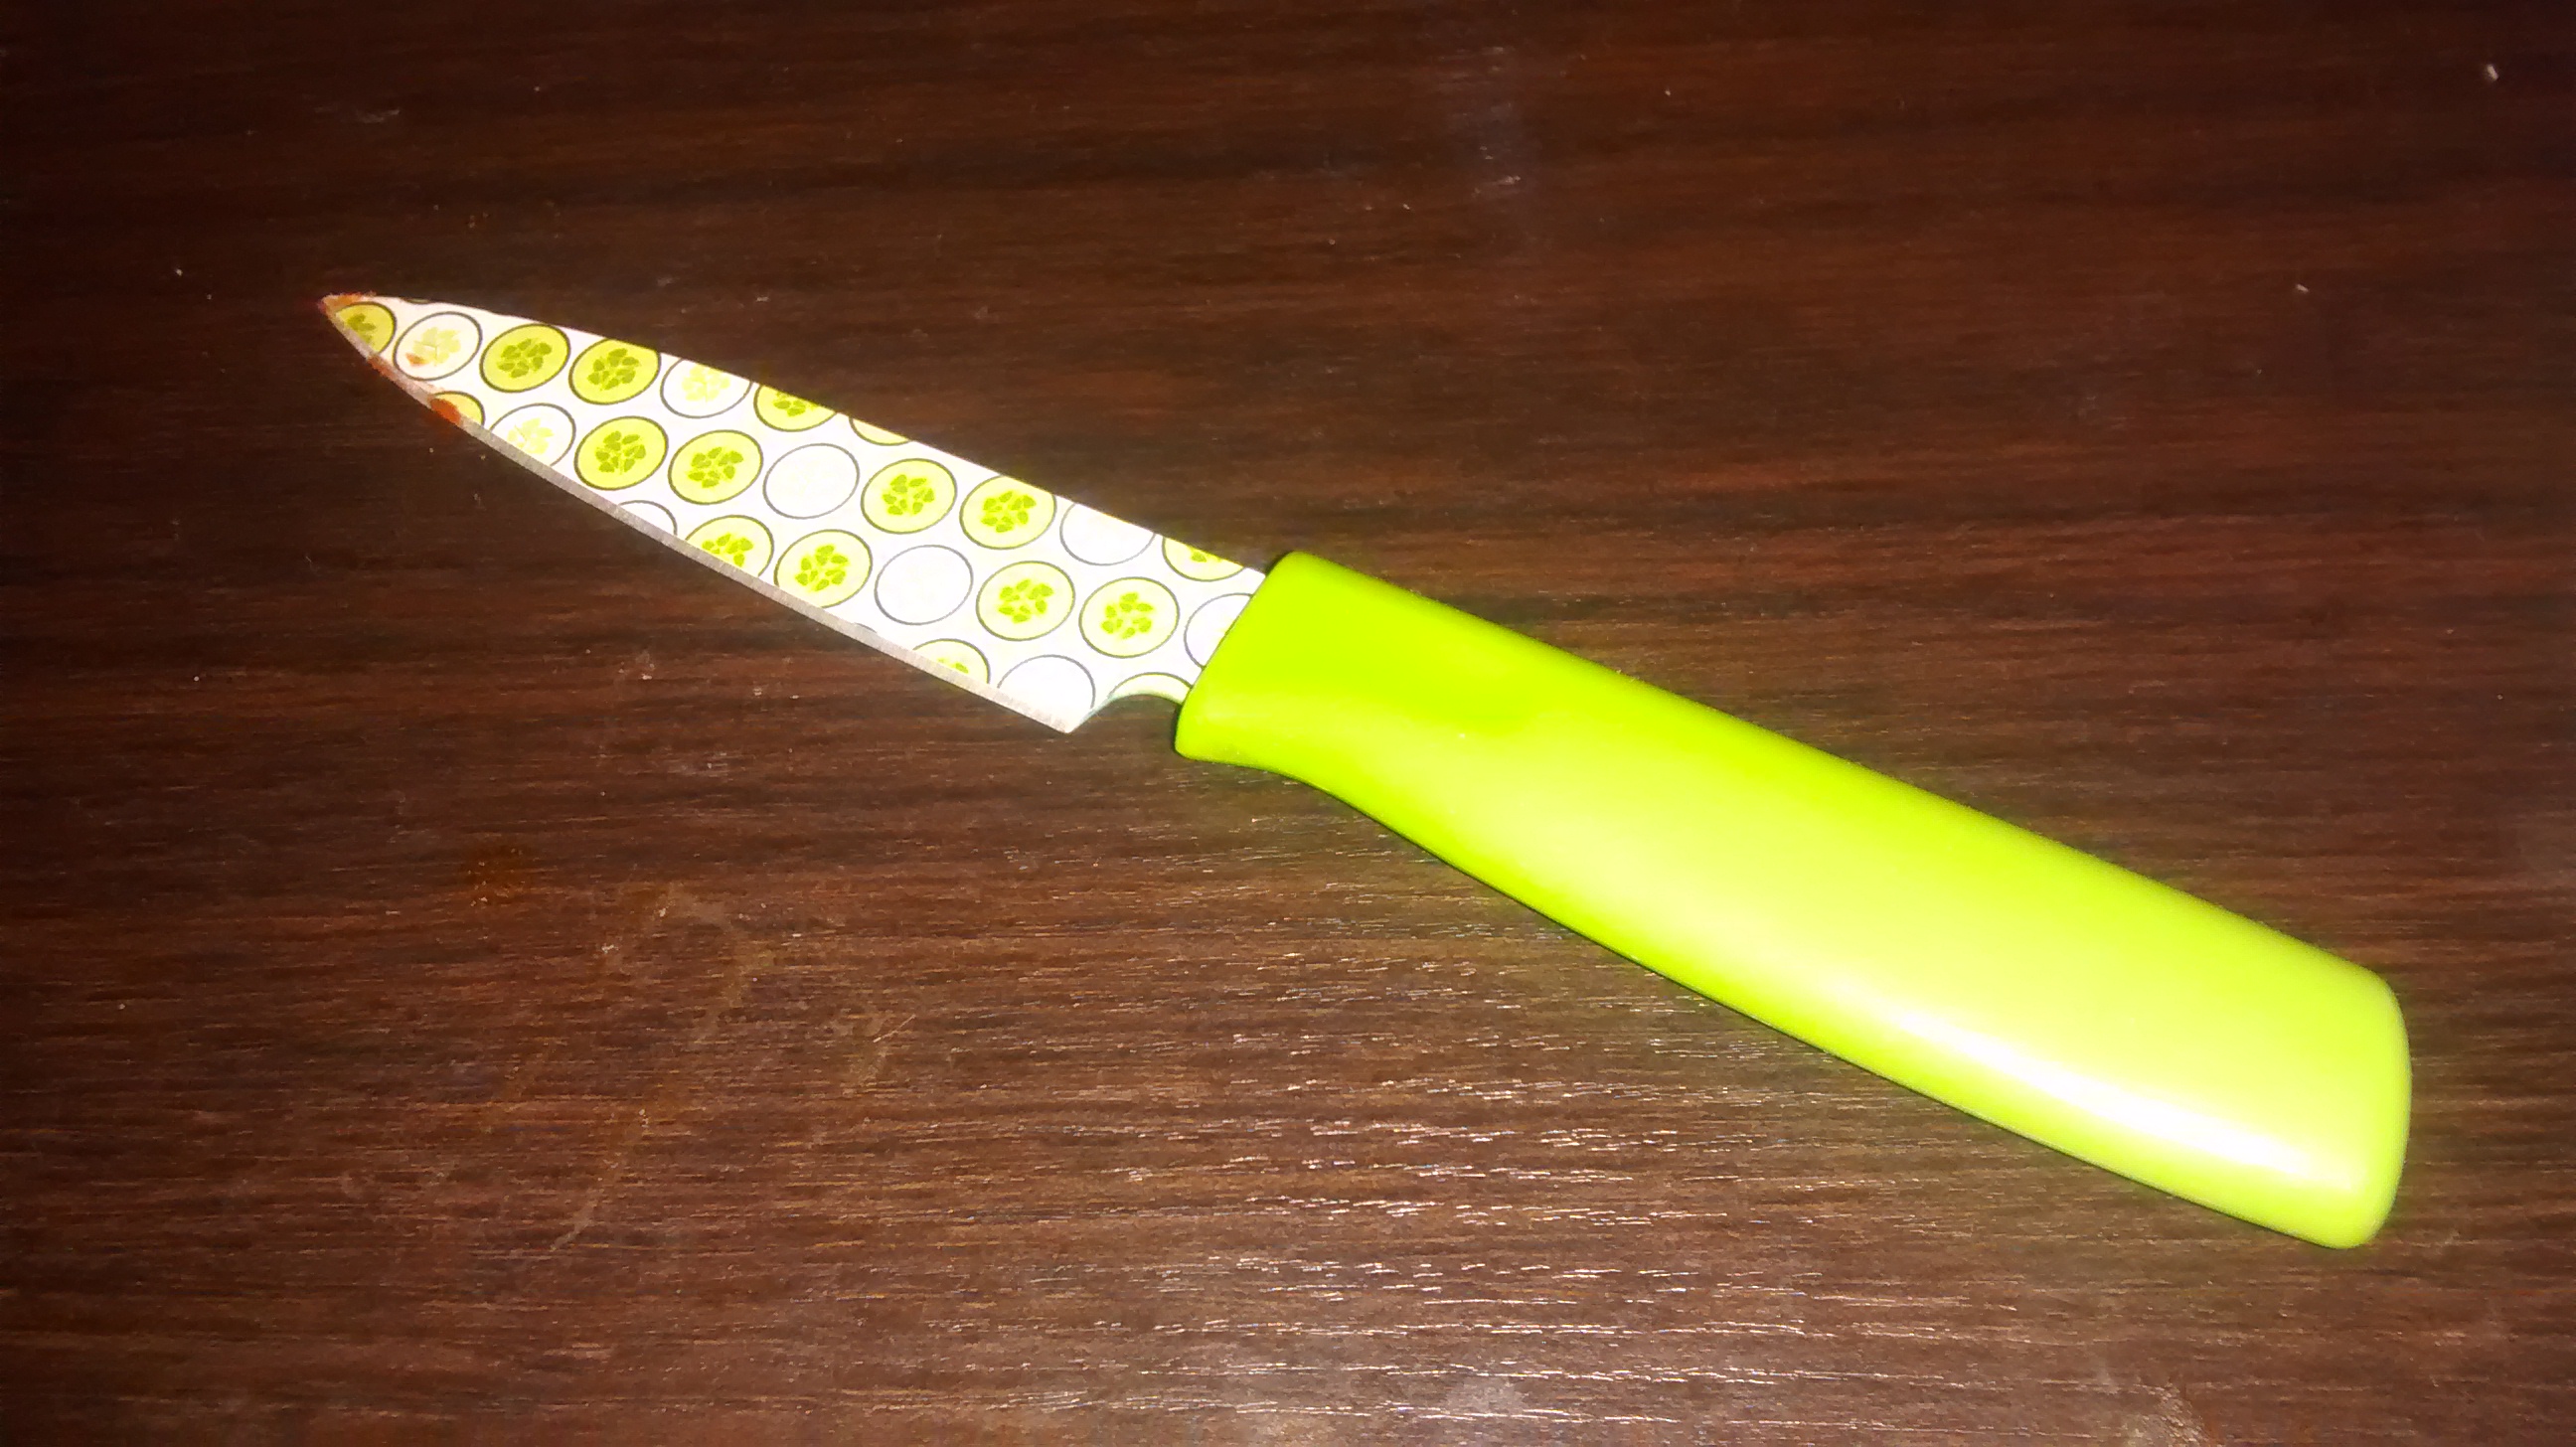
Before I began carving the wax roundel I had been given, I used a pen to sketch out my design on the surface of the wax. I began carving the roundel using a relatively sharp paring knife (one that I normally use for slicing vegetables) and following the lines I had drawn on the wax. Initially I found the process quite difficult, as the wax was very resistant; this, I think, was because my apartment is notoriously cold, and my roundel had been sitting in its plastic bag on top of a pile of books near my front door, which leads directly onto the street. As my apartment relies on electric- rather than central heating, I cranked up the heat to around 80F and sat near the heater in the hopes of making the wax easier to carve. This almost immediately improved the situation; I now found the wax much more pliable. The knife I used to carve gave me a good deal of control, although at times it gave too sharp/deep an effect than I intended. When carving, I kept in mind Professor Smith's directive to render the 'walls' of the carving so that the base was either the same width or wider than the top.
Wax carving: photos

The knife I used to carve the roundel

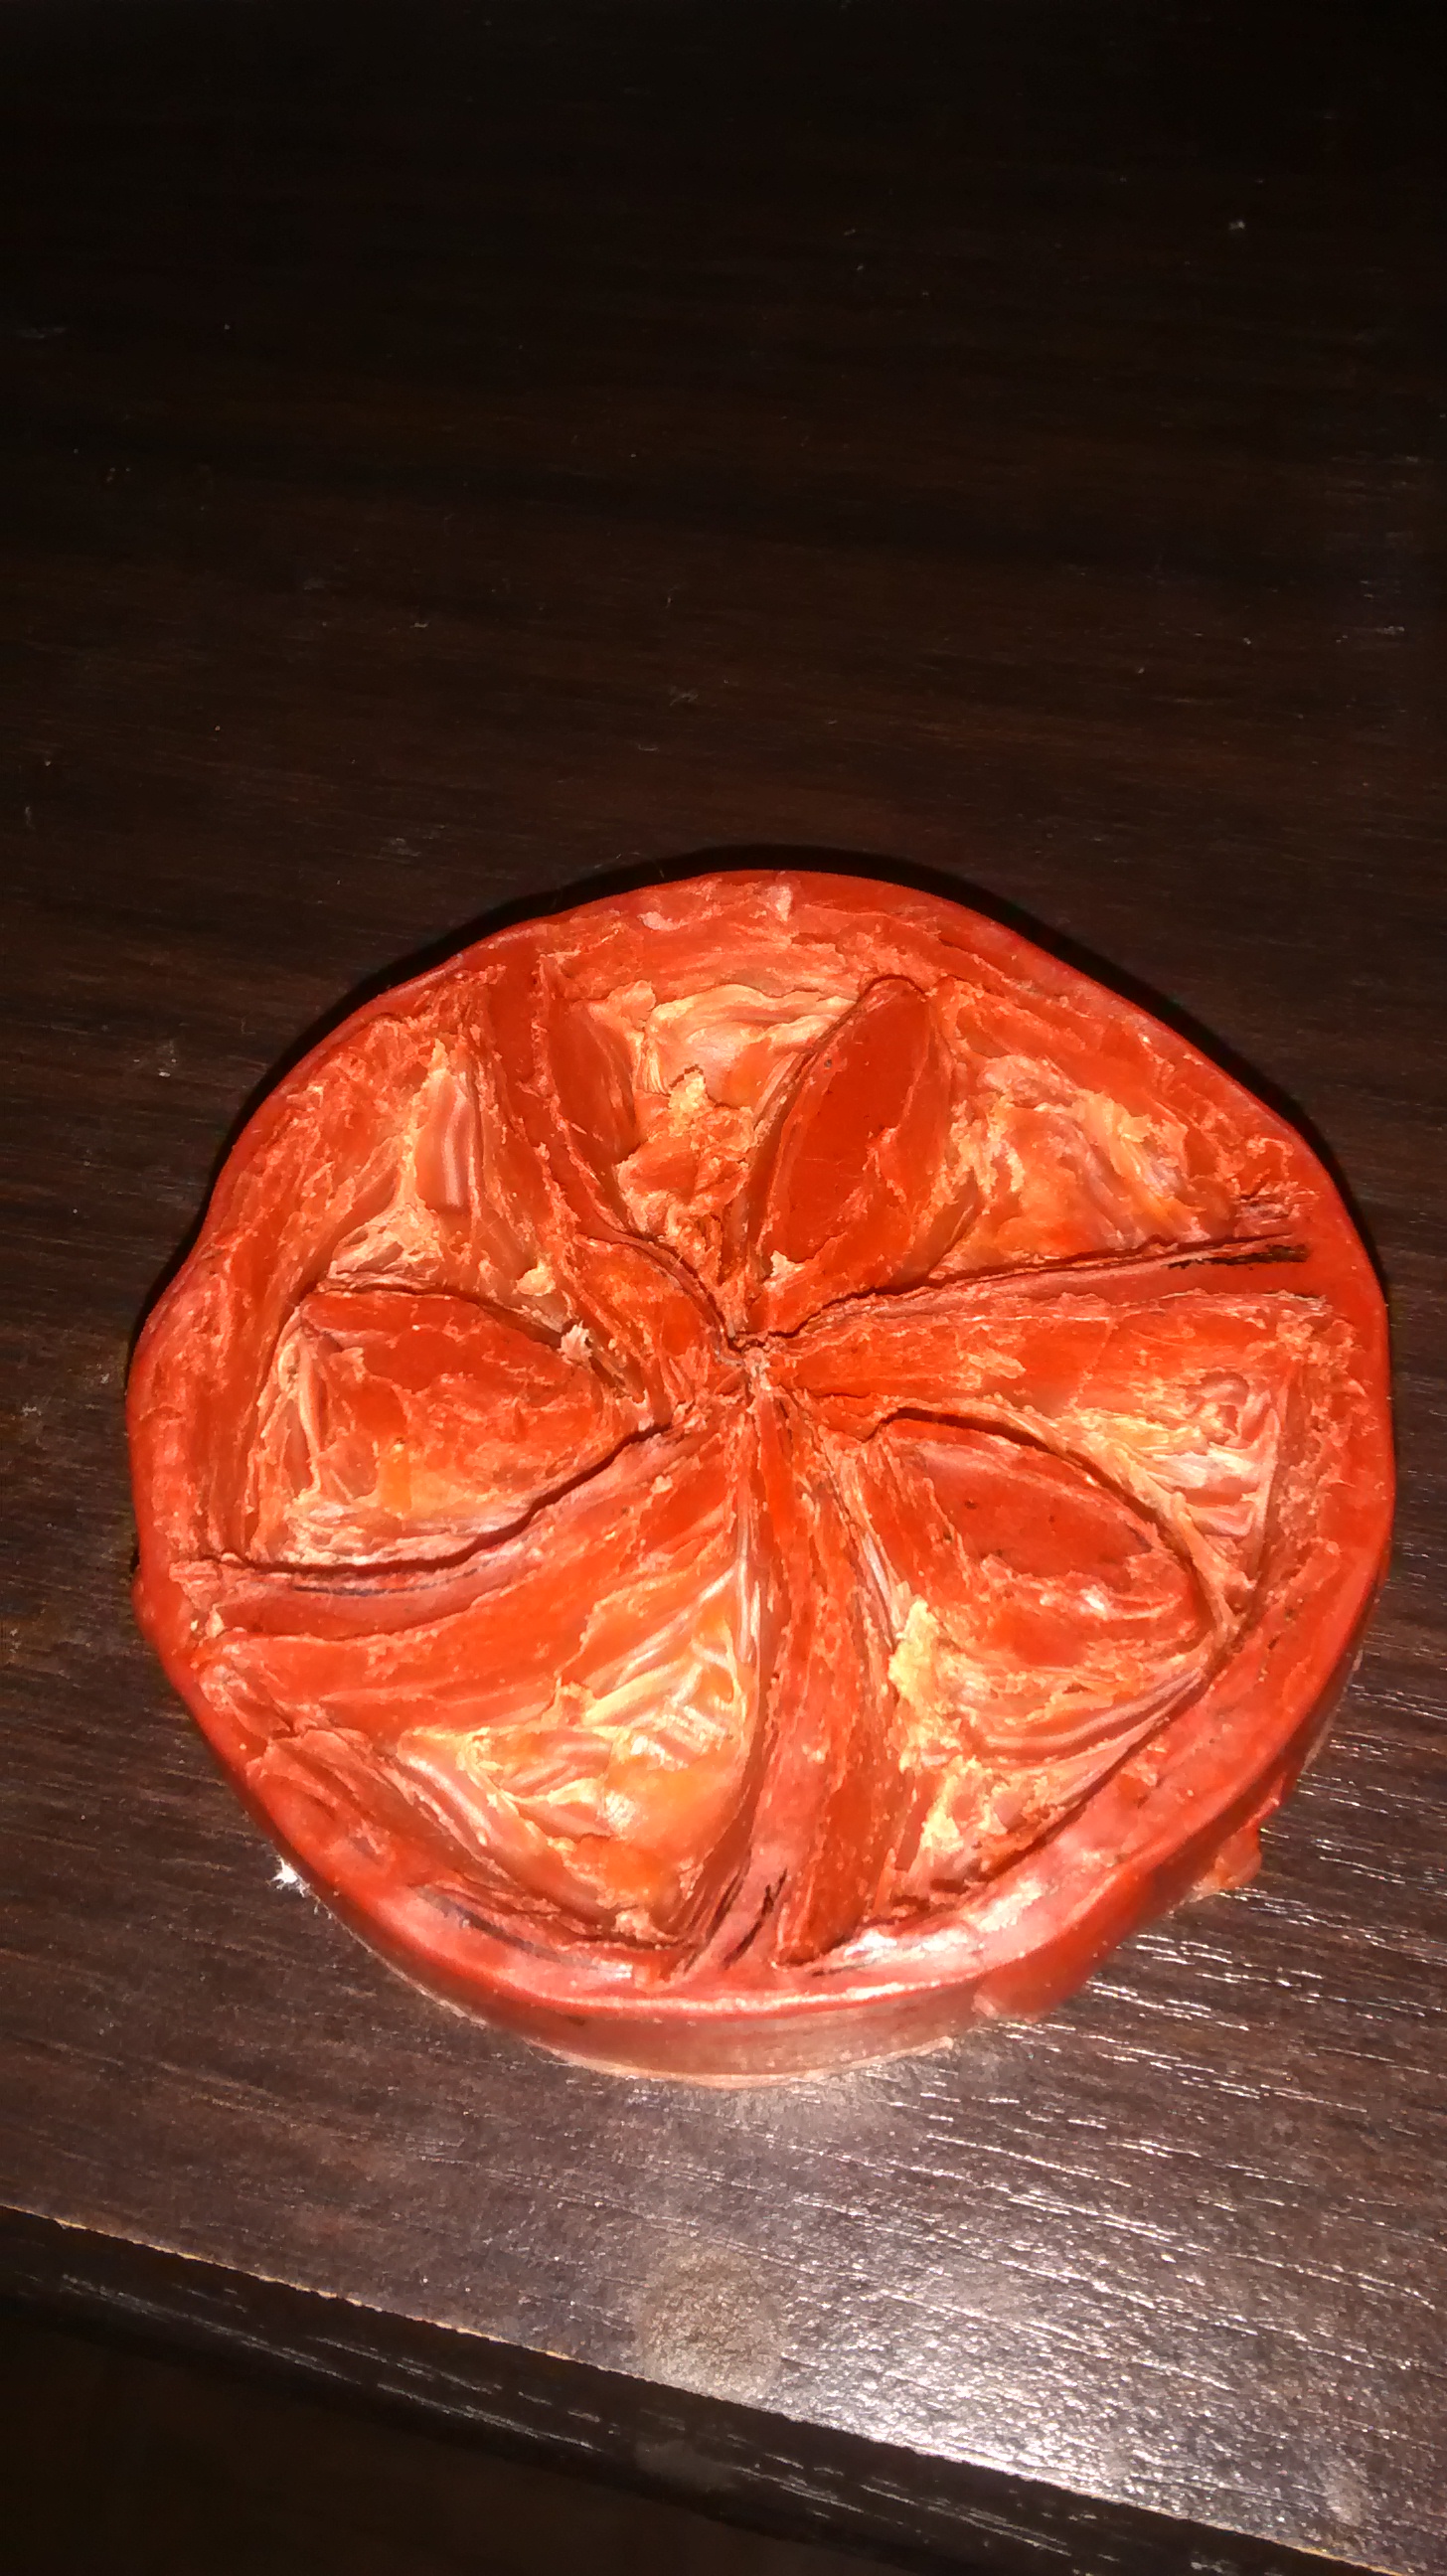
A close-up of the finished wax carving
DATE AND TIME: Feb 20 2015, 1:45pm
LOCATION: Chandler 260 laboratory, Columbia University
SUBJECT: Clay impression and pouring plaster mould
Clay impression: process
After missing class on Monday, I came into the lab on Friday to create my clay impression and pour plaster into it. To begin with, I kneaded a mass of clay until it was soft and pliable, then shaped it into a vaguely circular shape with a good amount of depth to it. Before impressing the wax roundel in the clay, I applied a liberal coating of linseed oil to act as a release agent (slightly too liberal - I ended up having to blot a little off afterwards!) Both Joel and Jef expressed surprise at how deep the mould I had carved was, and suggested that this might prove a problem in the subsequent sandcasting process. They both emphasised the importance of pressing the roundel into the clay as far as it would go; this necessitated me using my whole weight to press the roundel down into the clay, whilst also taking care not to break the wax - this meant I periodically had to keep pressing the mould down more delicately, using my fingers. I also had to keep gathering the clay up around the mould as I impressed it further. After leaving the mould in place for a few minutes, I worked the clay around the mould aside a little, and used a blunt knife to very gently pry the mould out of the clay. Luckily, it seemed that the impression was made fairly clearly. I then transferred the clay to a plate in preparation for the addition of the plaster of Paris.
Although the recipe for plaster of Paris called for a ratio of two cups of plaster to one cup of cold water, Jef mentioned that Caroline's plaster had gone particularly well the day before, and that she had used a third cup of water to half a cup of plaster. I mixed this in the fume hood, first placing the cold water into a rubber mixing bowl and then sieving the plaster on top of it. The mixture came together very quickly, and there were virtually no lumps (probably because I had used more water than the recipe's ratios typically call for). After just twenty seconds or so of stirring the plaster mixture with a wooden spoon, it had reached the desired creamy consistency, so I quickly poured it into the clay impression before it set.
Clay impression: photos

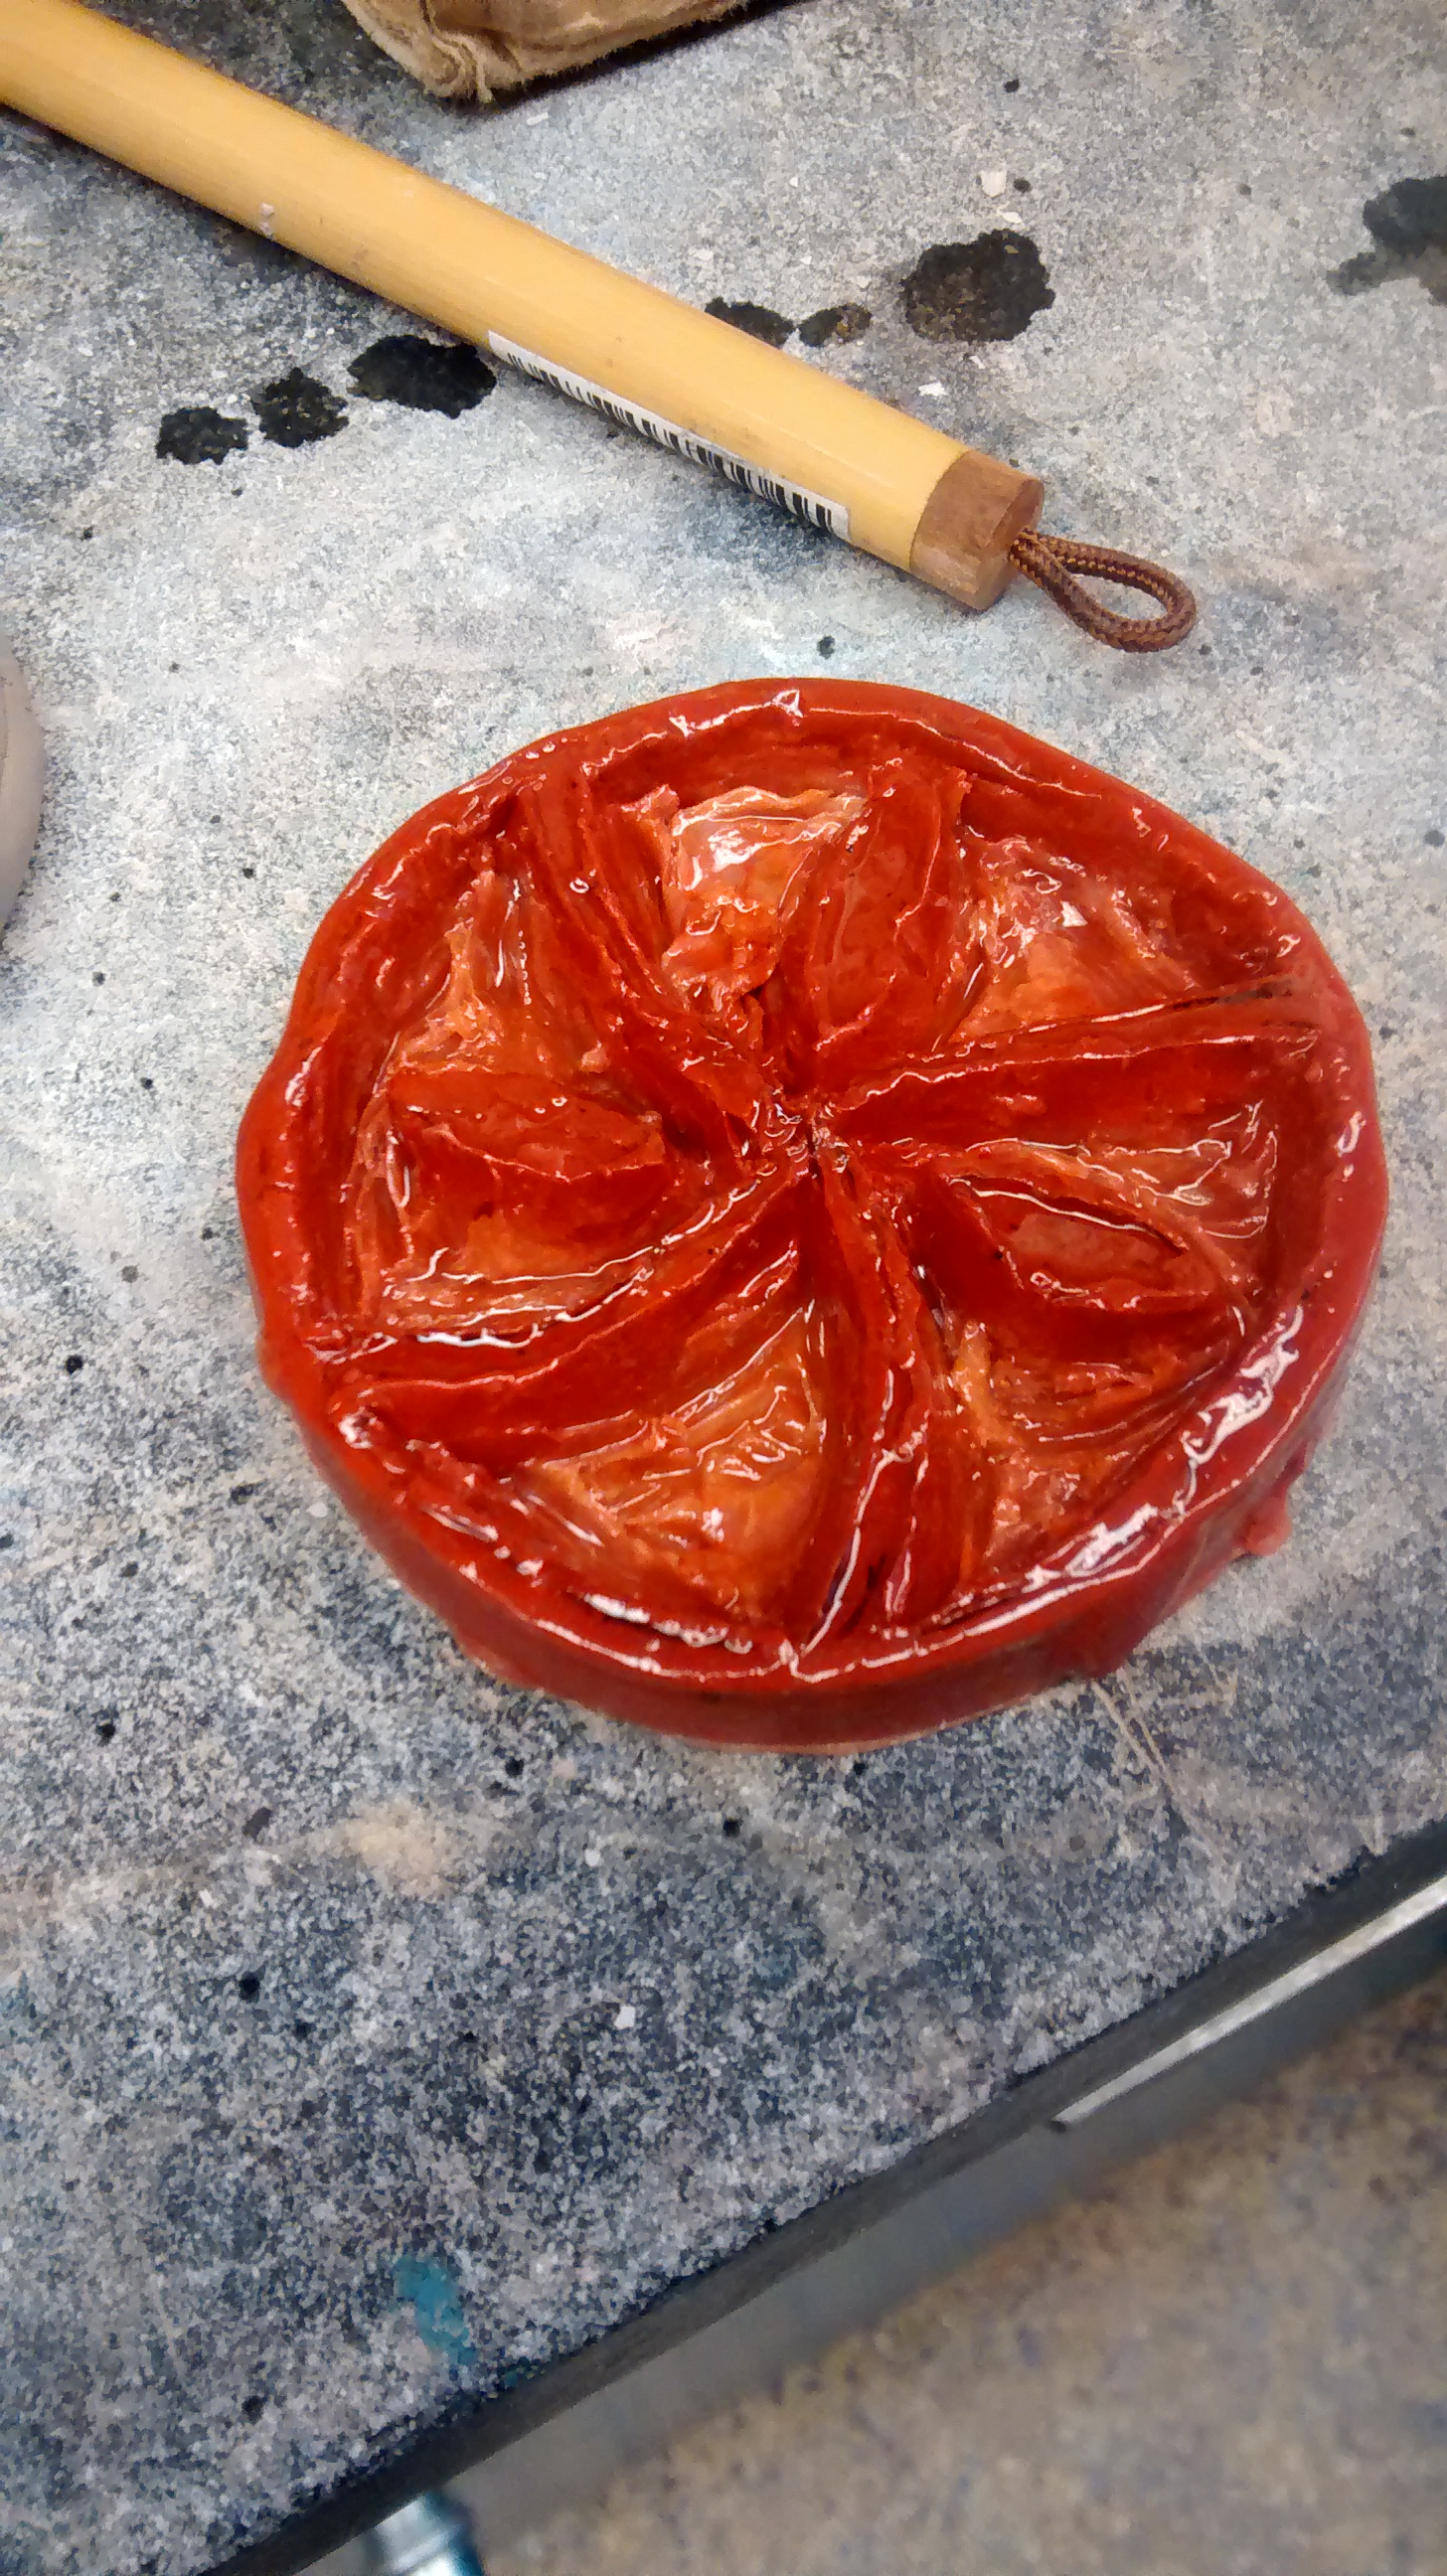
The wax roundel, doused in linseed oil and ready to be impressed.

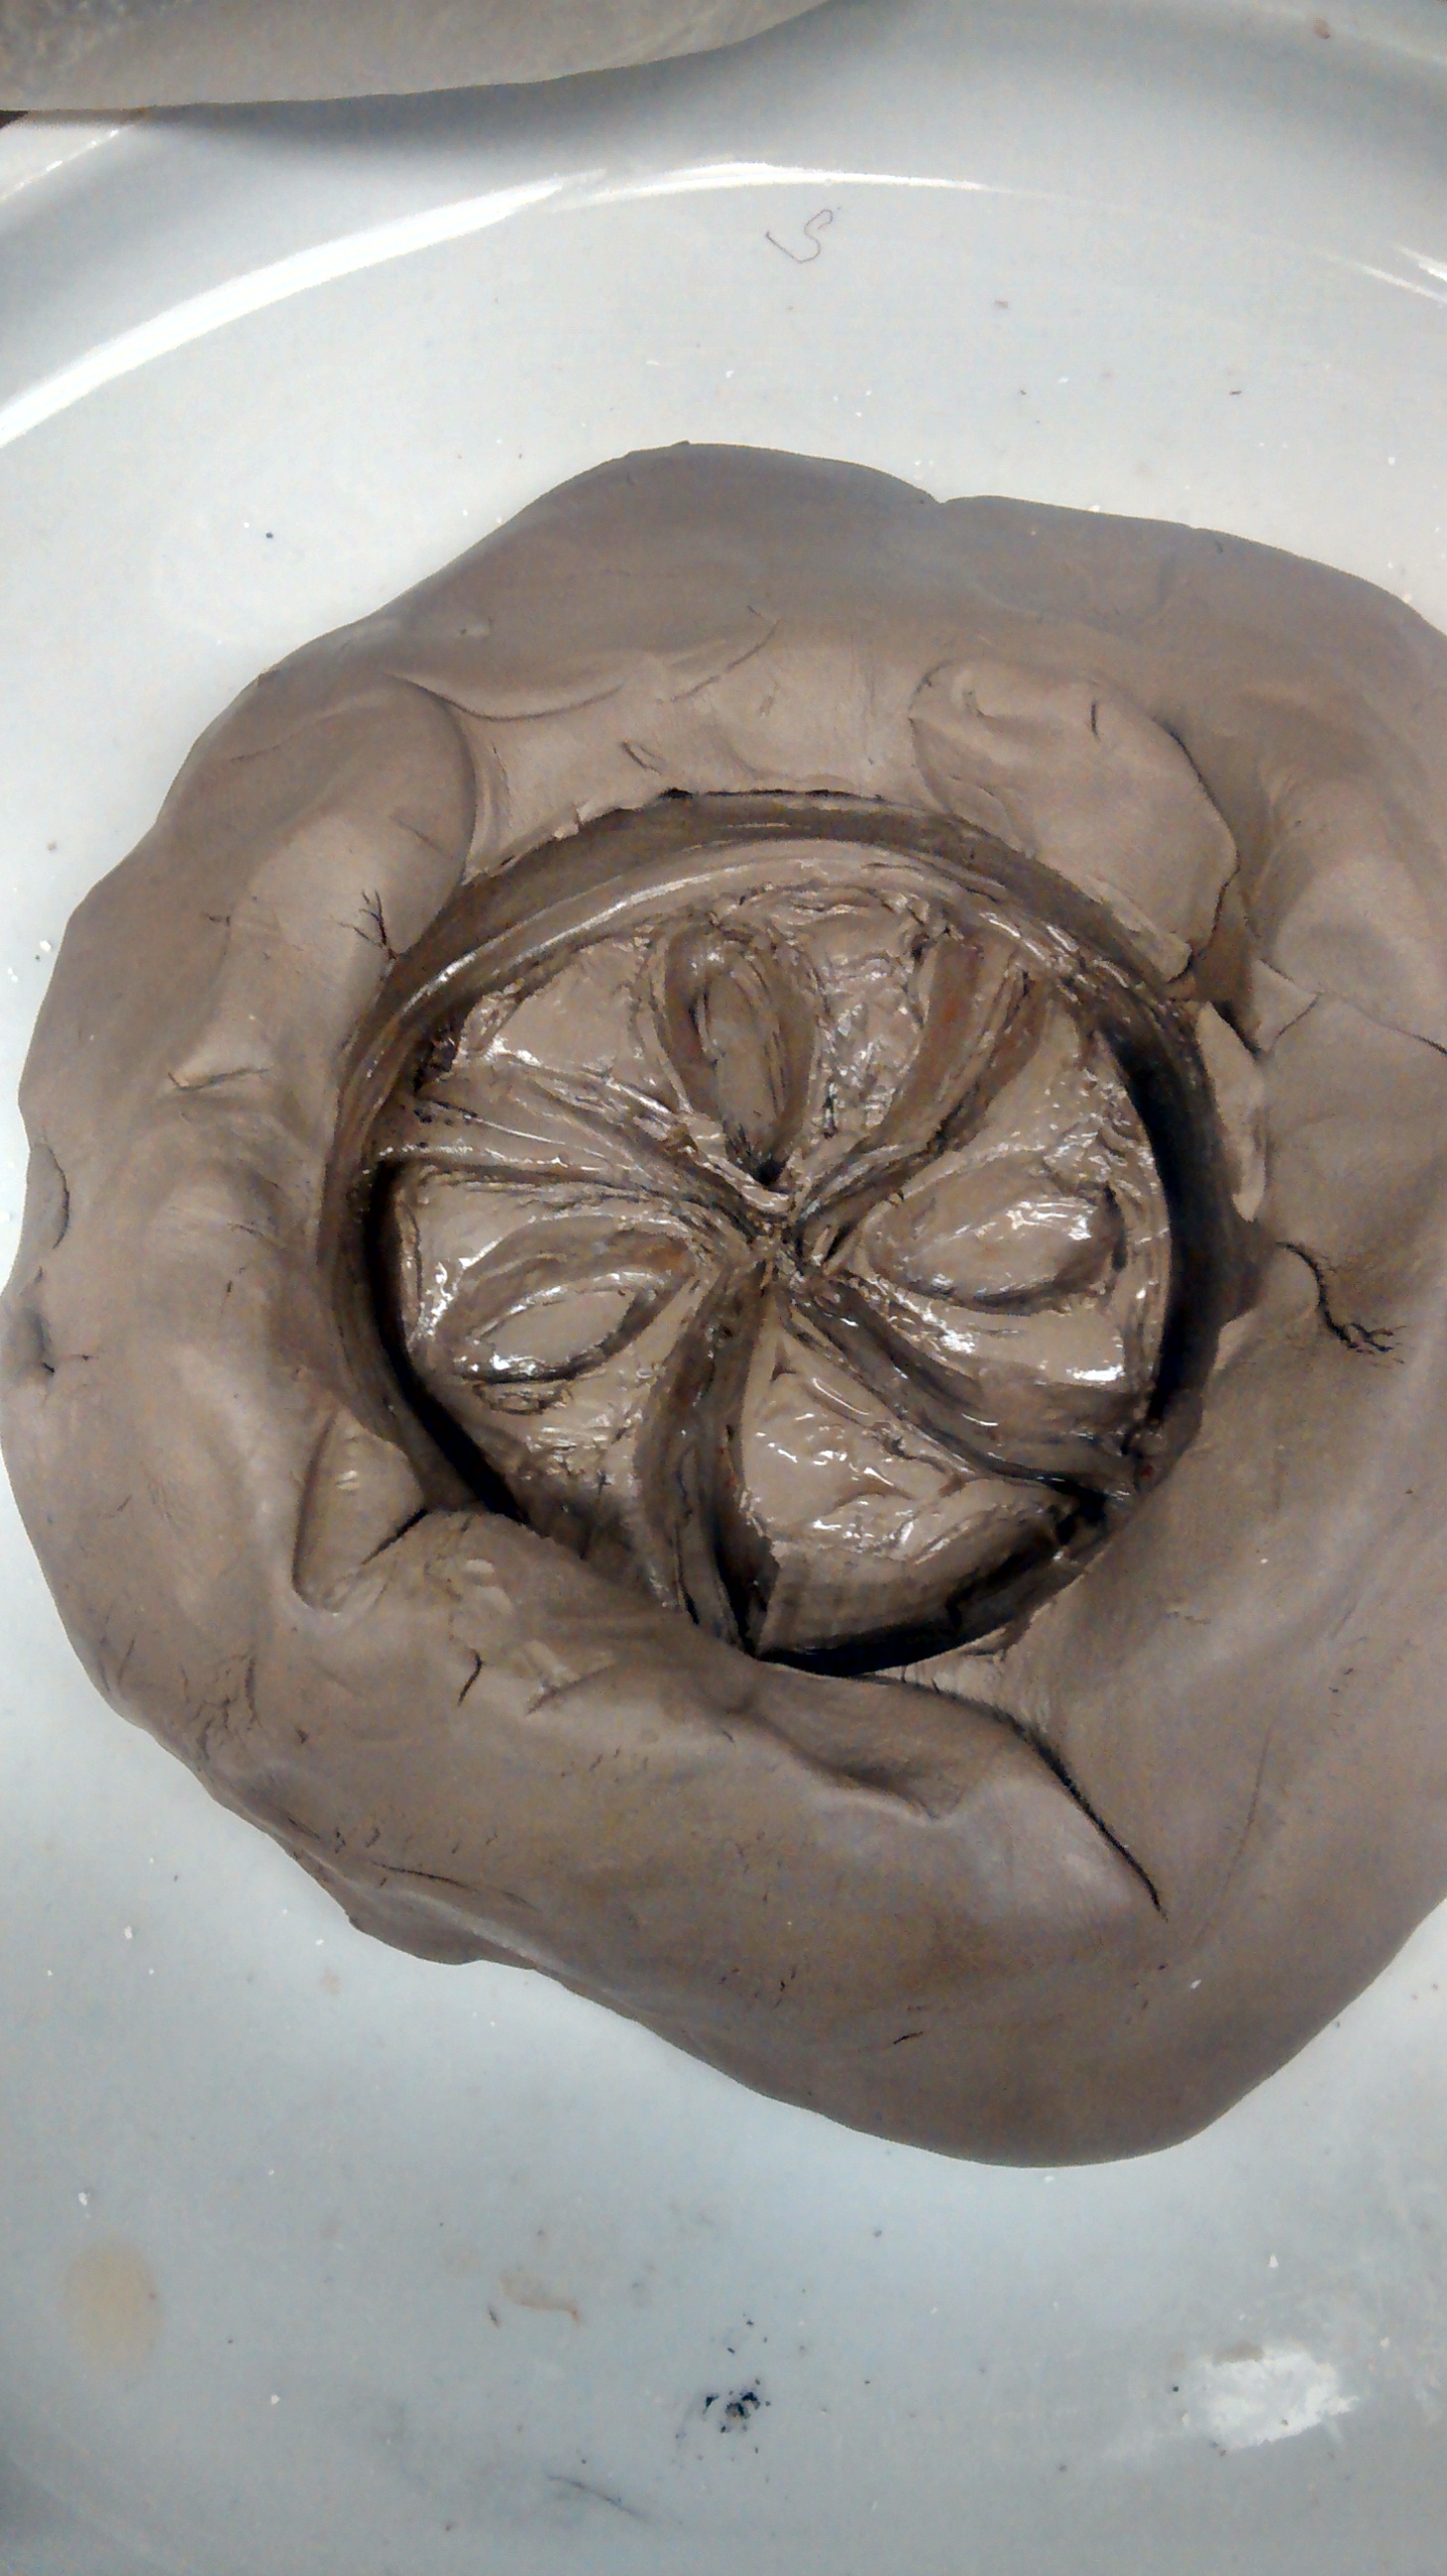
The impression left in the clay after removing the wax mould. Note the linseed oil still covering the clay -- hopefully this will act as a release agent for the plaster mould!
NAME: Stephanie Pope and Caroline Marris
Table of Contents
DATE AND TIME: February 23 2015, 9am
LOCATION: Chandler 260 laboratory, Columbia University
SUBJECT: Sandcasting
Sand recipe
For our sandcasting recipe, Caroline and I used the 'sable' described on folio 93r of BnF MS 640, which is as follows:
Transcription
<title id=”p093r_a4”>Sable</title> < ab id=”p093r_b4”>La cendre blanche de tout boys qui se tient encores au boys<lb/> qui brusle et nest point tombee au bo foyer moule fort net</ab>
Translation
<title id=”p093r_a4”>Sand</title> < ab id=”p093r_b4”>The white ash of all kinds of wood, which still sticks to the wood while burning, and which has not fallen into the hearth, molds very clean</ab>
To get some idea of the context of the recipe, we looked at the folio in the manuscript to see which other recipes appeared on the preceding and following pages. We found that the page on which the recipe featured also had another recipe for 'sable', which involved the use of soot, along with a description of how to preserve olives, a piece of folk wisdom about the significance of weather on Palm Sunday, and several notes on the process of grafting - a pretty eclectic mix. However, we did think that maybe the recipe for sable which required soot indicated the sand we needed to produce was particularly fine (as soot is so fine-grained).
Binders
We then decided to search the manuscript to determine what kind of binder we should use to bring together the pine ash into a material that would take impressions/moulding. When we Ctrl+F'd 'magistra', several 'wet' binding agents came up, including the following:
- Egg white. On folio 68r the author states that "for big works it is necessary to wet the sands with egg white or magistra" - I suppose big works means large moulds?
- Wine. On foilo 69r, the author states that sand can be made wet with wine or magistra. Later on the same page, he states that 'lean sand' needs more moistening than 'fat sand', and that this can be done by wetting the sand with "good pure wine" (not sure what exactly the criteria for that are), or "wine boiled with elm tree roots or something similar". We wondered what the significance of the boiling in elm tree roots was -- obviously boiling the wine will reduce it, but would boiling with elm tree roots maybe impart some viscosity to the liquid? Not sure. But another recipe for "Magistry" on f. 87v states that "Founders harvest the roots of a young elm when it is sappy, and boil it in wine, or better yet vinegar". So perhaps the sappiness of the elm roots is meant to add some stickiness to the wine.
- Salt water. On foilo 84v there is a recipe entitled 'Eau Magistra', which discusses the use of salt water as a binding agent. However, it mainly discusses the problems that other craftspeople have apparently perceived with using salt water, which is that it bubbles. In that case, the writer avers, it is best to use wine.
As there were no eggs currently in the lab, we decided to veto the first option. We were unsure of the proportions involved in creating salt water (could a particularly strong saline solution have noticeably beneficial/detrimental qualities?), and since the writer himself seemed to not really extol the benefits of using it, we decided to skip that and use wine as our binding agent. There was a bottle of three-dollar red that had been open for a month or so in one of the cupboards under the fume hoods, which probably didn't count as "good" or "pure" in anyone's book but we decided to go for it anyway. We also decided not to boil any elm roots in the wine as we were not quite sure of what properties this was supposed to inculcate in the mixture -- hopefully it won't have too much of an impact on the texture of the sand.
Preparing the pine ash
The ash we were using for our recipe was from pine wood roasted in a wood stove from California, and the ash was collected from the bottom of the stove after having fallen from the wood. The sand called for in the various casting recipes in the ms is described as fine and pulverised, and, as I previously mentioned, the other ‘sable’ recipe on the same page as the one for pine ash involves the use of soot, suggesting thata very fine, talcum-powder texture is required. So we decided that in order to refine the texture of the ash, we would first grinf the ash with a pestle and mortar, and then sieve the ash in a fume hood, using a particularly fine-gauge sieve.
Doing this worked well - the ash was actually a lot finer than we had judged by eye, and the ash that was passing through the sieve was very pale (good, as the recipe calls specifically for white ash). However, we were a little concerned that the 2 jars of ash (454g peanut butter jars) were not going to be sufficient to cast both, or even one of our moulds. We therefore decided to take the pieces of ash that had not passed through the sieve, grind them again in the mortar, and then try sieving them again, hoping to bulk out the ash mixture. This worked quite well, although it definitely darkened the colour of our ash.
Preparing the moulds
As we had prepared the dry part of our sand, we now needed to prepare our plaster moulds to be cast - i.e. chisel away and file down any excess plaster. Tragically, my plaster mould broke when I tried to remove it from the clay! I think there are several reasons why this might have happened - one, the carving was very deep, as both Joel and Jef had pointed out the week before. Another problem might have been that the design was relatively intricate, with lots of small/fines pieces. Pamela also suggested that the plaster might have been too thin, causing it to become brittle and break. This seemed like a legitimate suggestion, particularly as we had not made up the plaster I used according to the standard 2-parts-plaster, 1-part-water recipe, but according to Caroline's improvisation, which used 1/2 a cup of plaster and 1/3 a cup of water - but then why did Caroline's come out so well? Strange! I think it was mainly down to the mould, not the plaster. Anyway, I decided that rather than trying to salvage my rather pathetic-looking mould, I would make a new, less detailed/deep-cut one, and start my own sandcasting from scratch. For the rest of the session, I carved my new mould (see notes below) and helped Caroline with the rest of the sandcastng process for her mould.
Preparing the binder
After Caroline has finished tidying up her plaster mould, we were ready to add the binder to our ashes and then press it into our forme, which you can see below.
One of the first questions we had was, just how wet does the sand need to be? In Biringuccio, it stipulates that sand for this type of casting should 'stick together' if you squeeze it in the palm. We gave this a go with the dry ash -- actually, it already seemed to be sticking together a fair amount, although not enough to actually take a good impression of the plaster mould. This was confirmed when we did a test impression with the dry ash in the forme we were using -- the general shape of Caroline's mould came out, but not any fine details. So we decided that we would begin by adding just a very small amount of wine - 20ml to one cup of ash.
We began to mix these by hand in a metal mixing bowl, pouring in the wine in very tiny volumes periodically (probably around 4-5 ml each time). We quickly noticed that the mixture was coming together, and when all 20ml had been added we decided that we probably had a good enough texture to be moulding in.
We then began to start packing the sand into the forme on top of the mould, which was placed on a ceramic plate. This was quite a finicky process, as one of us needed to have our fingers on top of the mould, holding it down so it didn't move, while the other packed the sand in around it. At this point, we realised that unfortunately our forme was not quite flush/level -- it kept shifting against the plate. Annoying as this was, we decided to press on and hope that it wouldn't prove too problematic later on. Halfway through packing the sand in, we also realised that the amount we had made up would not be sufficient to fill the forme, so I made up another batch of mixture following the same 1 cup of ash/20ml of wine ratio. At first, I made up a half-batch (1/2 cup of ash and 10m of wine), but then it became apparent more would be needed, so I made up another half-batch again. We were surprised that by the end of filling the mould we had used nearly 2 cups worth of ash -- nearly double what we had initially estimated would be required.
ASPECTS TO KEEP IN MIND WHEN MAKING FIELD NOTES
- note time
- note (changing) conditions in the room
- note temperature of ingredients to be processed (e.g. cold from fridge, room temperature etc.)
- document materials, equipment, and processes in writing and with photographs
- notes on ingredients and equipment (where did you get them? issues of authenticity)
- note precisely the scales and temperatures you used (please indicate how you interpreted imprecise recipe instruction)
- see also our informal template for recipe reconstructions